Pixozygetpixozy.com

Setup Guide

Launch Pixozy on a Shopify product page

Pixozy uses a Shopify Theme App Extension. Merchants add the Customizer app block in the theme editor with no manual theme code edits.

Follow this path after installing Pixozy from Shopify: configure the embedded admin, publish the storefront customizer, verify cart properties, complete checkout, and review the captured order.

Start with one product so you can confirm the buyer controls, cart handoff, preview, and production references before expanding the setup.

01

Install Pixozy

Install Pixozy through the Shopify app flow, then open the embedded admin from Shopify.

  • The embedded admin opens without leaving Shopify.
  • Artworks, campaigns, and orders are visible.
  • The store domain is the expected myshopify.com shop.
02

Create an artwork template

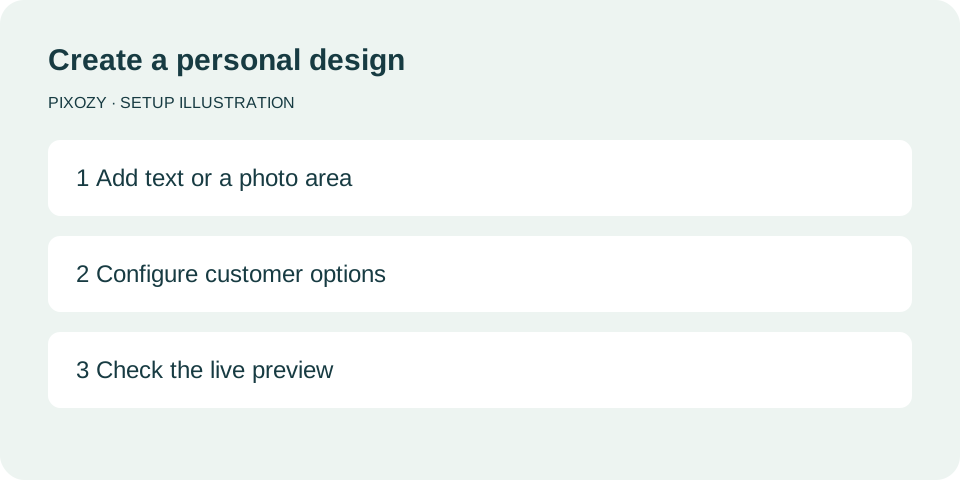
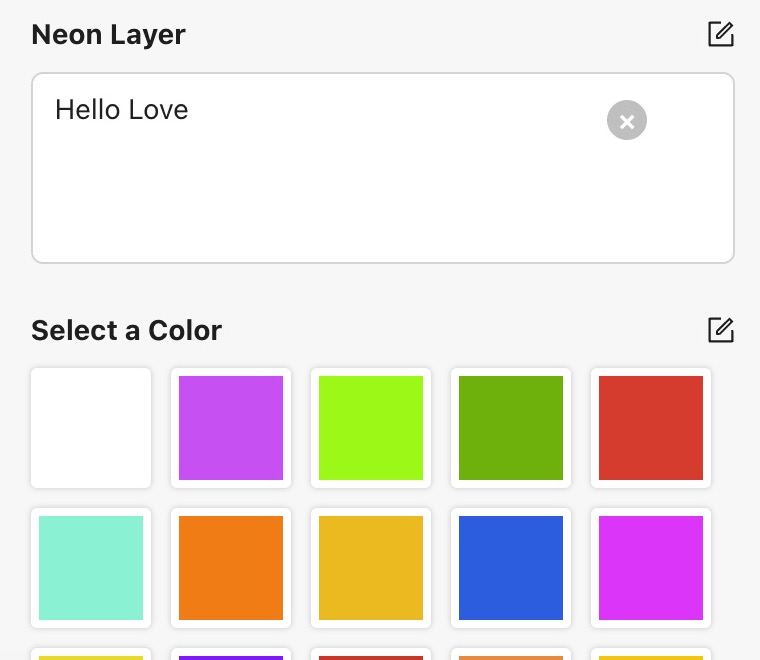
Create a reusable artwork template with mockup, print area, text layer, buyer image upload, and color options.

  • Every buyer-facing field maps back to a template layer.
  • Preview and production asset rules are saved.
  • Reload the editor before binding products.
03

Bind Shopify products and variants

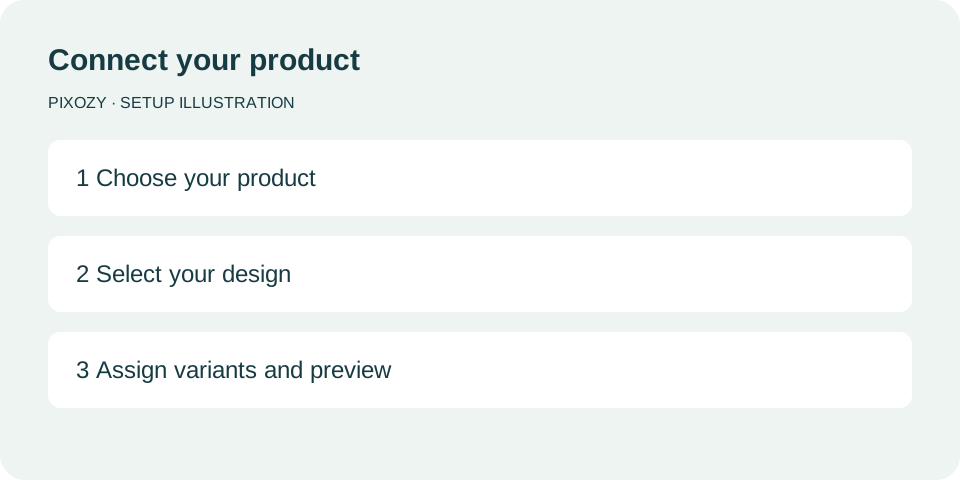
Bind the campaign to the Shopify product and sellable variants that should show the customizer.

  • Product GID and numeric product ID are both available.
  • Variant GID and numeric cart variant ID stay separate.
  • Unbound variants should not allow customization.
04

Add the Pixozy Customizer app block

Open the Shopify theme editor, choose the product template, and add the Pixozy Customizer app block.

  • No manual Liquid edits are required.
  • The block appears on the intended product template.
  • Publish the template only after the product page renders.
05

Run a test order

Open the product page, enter buyer customization, add to cart, complete checkout, and review the Pixozy order snapshot.

  • Check the storefront customizer on desktop and mobile.
  • Confirm cart line item properties include the Pixozy session.
  • Review preview and production references in the admin.
06

Export production CSV v2 and update fulfillment

Select the order, refresh its shipping data, and have the merchant manually download production CSV v2. After the merchant delivers the file to a chosen factory and receives tracking details, import the tracking CSV and explicitly confirm the Shopify fulfillment write-back.

  • Verify recipient name for the shipping label and shipping address for direct fulfillment.
  • Review optional phone for a delivery exception and optional email for a carrier notification.
  • Pixozy does not automatically send the CSV to a factory; protected fields are deleted after 90 days for terminal orders or no more than 365 days for non-terminal orders.

Validation

Store launch validation checklist

Complete this checklist before sending shoppers to a personalized product page.

  1. Open the product page and confirm the customizer loads once.
  2. Switch variants and confirm only bound variants can customize.
  3. Enter buyer text, upload an image, and choose a color.
  4. Check the storefront customizer on desktop and mobile.
  5. Add the customized product to cart and inspect line properties.
  6. Place a test order and review the order customization snapshot.
  7. Manually export production CSV v2, review redacted warnings, and confirm fulfillment only after checking tracking data.

Need help?

Send the setup evidence to Pixozy support

Include the Shopify store domain, product URL, variant involved, screenshots, and the test order number.

[email protected]